
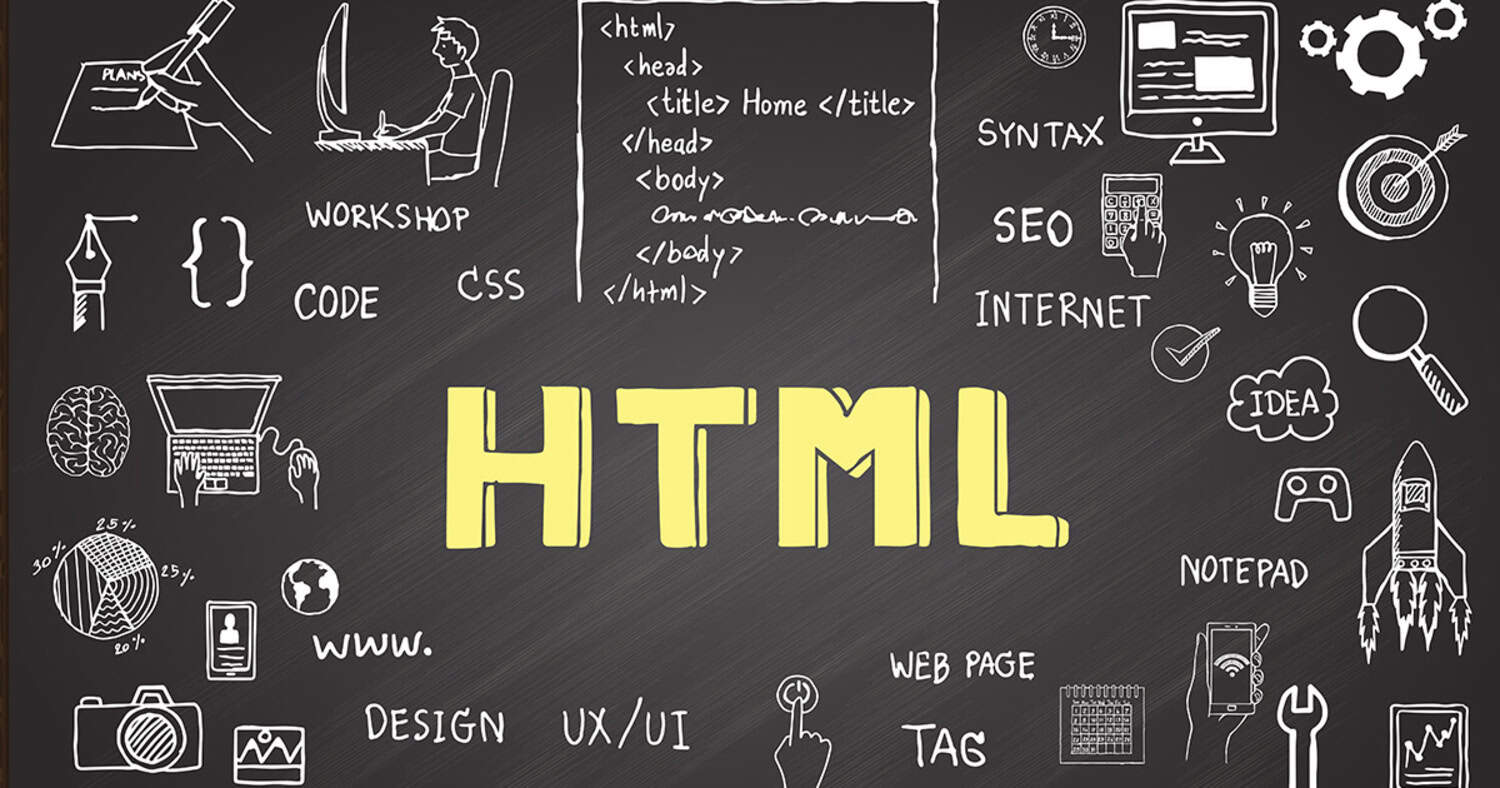
An excellent method to communicate with your website visitors and provide them with an engaging experience is by adding an html chat box. People may start conversations and ask inquiries in a chat box without leaving your website – and that’s great for business!
The steps to make your own HTML chat box widget include the following:
- Creating basic HTML for the form
- Writing the CSS for styling,
- and coding JavaScript for sending/receiving messages.
The good news is that setting up an html chat box is not challenging. In this article, we’ll guide you through the simple steps to install a chat box on your website.
Table of Contents
What’s an HTML Chat Box Anyway?
Before diving into the how-to’s of building your html chat box, let’s chat for a minute about what a chat box is and its advantages for your website.

In simple terms, a chat box is an online chat interface that lets website visitors communicate directly with your business from your pages.
See also : Build Multiple Pages In HTML: Simple And Effective Techniques
Instant help
With a live chat box, your visitors can get answers to their questions immediately. This is a great way to provide quick and easy customer service and can also help build trust and rapport with your customers.

Personal touch
Chat boxes allow for more personal and conversational interaction between visitors and your business. This can help to make your customers feel more comfortable and at ease, and it can also help to build a stronger relationship between you and your customers.
Qualified prospects
Chatting with interested leads can help you to identify and qualify them for follow-up. This is a great way to generate leads and turn them into customers.
Check out: How To Make A Quiz In HTML: Step-By-Step Tutorial
Streamlined communication
A chat box consolidates all chats into one channel within your website. This makes it easy for you to manage your conversations and keep track of all your customer interactions.
Around-the-clock agents
Canned responses can be triggered even when no one actively monitors the chat box. This means your customers can still get help and answers, even when your agents are offline.
CSS You Need To Know While Dealing Starting This Project
All right, let’s talk about CSS now. We’ll need some CSS magic to make our HTML chat widget look and work its best. Don’t worry if you don’t know the following items; you will learn as you do the project.
These are the things you should be ready to understand before diving into this project –
Floating elements
You will need to know how to float elements to position them side by side.

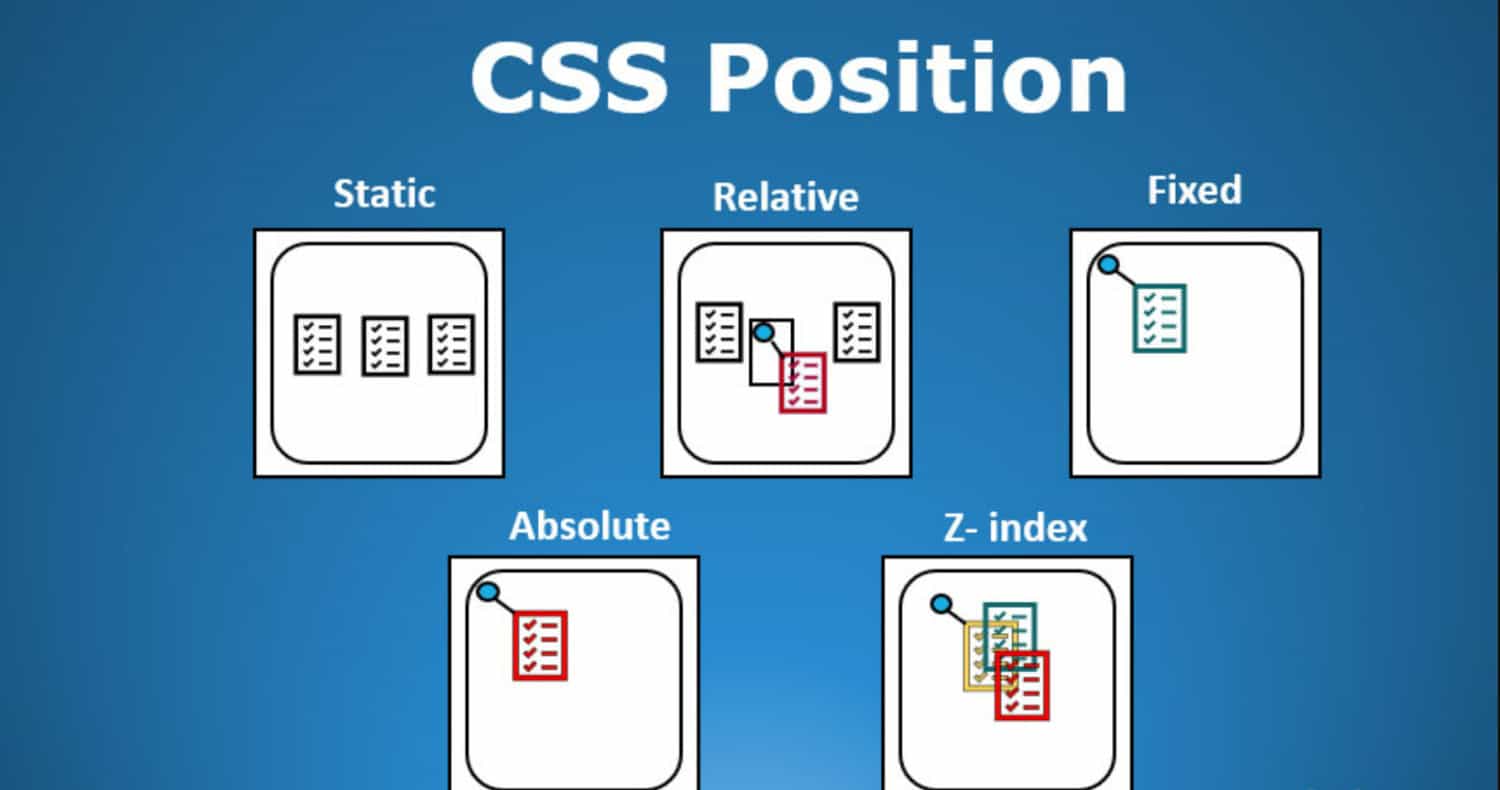
Positioning elements
You must know how to position elements, relative and fixed.
Centering elements
You will need to know how to center elements vertically and horizontally.
See also: Build Your Resume In HTML: Practical Code Example Included
Padding and margins
You must know how to add padding and margins to elements to create whitespace and separation.

Background colors
You will need to know how to set background colors on elements.
Font styling
You will need to know how to style fonts and text colors.
How to Create Your Own HTML Chat Box Widget from Scratch
To engage and connect with your website visitors, an html chat box works wonders. Fortunately, you can create your custom chat box HTML widget from the start without using third-party programs with only a little understanding of HTML, CSS, and JavaScript. Now, onto the simple steps to create an html chat box using only web technologies!
See also: Display HTML Images And Text Side By Side: Easy Tutorial
Step 1: Create the HTML Form
The first step is creating an HTML form allowing users to send chat messages. We’ll have a text input field for the message and a submit button.
<span style="font-weight: 400;"><form id="chat-form"></span>

<span style="font-weight: 400;">  <input type="text" id="chat-input"></span>

<span style="font-weight: 400;">  <button type="submit">Send</button></span>

<span style="font-weight: 400;"></form></span>
We’ve given the form and input an ID to access them from our JavaScript.
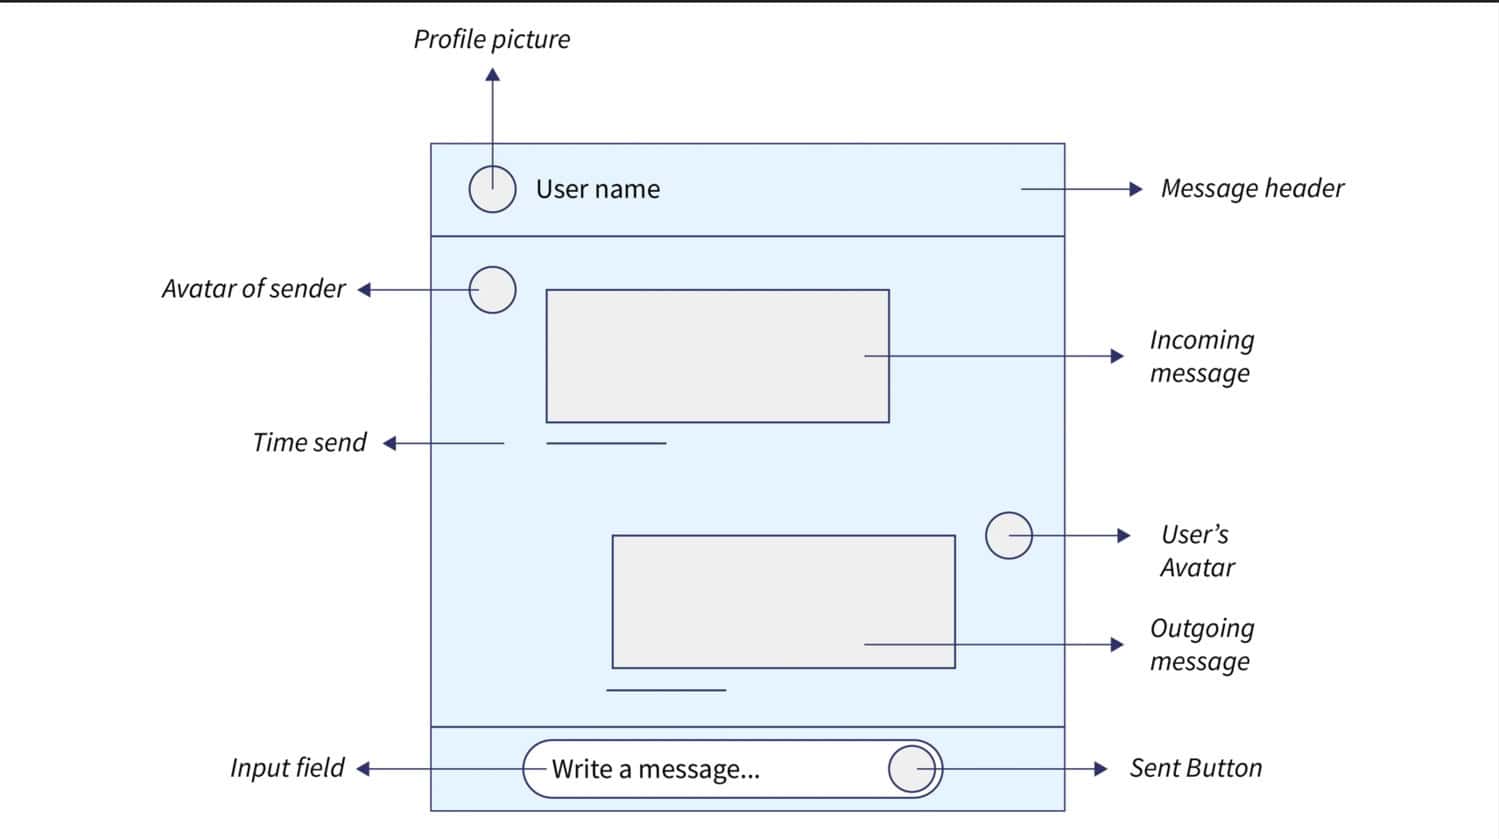
Step 2: Create the Chat Box Container
Next, we’ll add an HTML element to contain our chat box messages. Here we use a <div> with an ID of “chat-box.”
<span style="font-weight: 400;"><div id="chat-box"></div></span>
This element will populate with new chat messages as users submit them. Now, let’s take a look at adding some basic chat box design html css.
Check this out : How To Create A Login Page In HTML With CSS Code?
Step 3: Add Basic CSS Styling
Now let’s add some basic chat box design HTML CSS code to position and style our html chat box. We’ll center the form, set a width on the chat box container, and style the chat messages.
CSS
#chat-form {

text-align: center;

}

#chat-box {

width: 300px;

margin: 20px auto;

}

.chat-message {

padding: 10px;

margin: 10px 0;

background: light gray;

}
And that’s all for the chat box CSS, but feel free to edit it as needed.
Step 4: Add JavaScript to Send/Receive Chat Messages
We’ll add JavaScript to listen for form submissions, send the message data to our chat box, and reset the input field.
const form = document.getElementById("chat-form");

form.addEventListener("submit", e => {

e.preventDefault();

const input = document.getElementById("chat-input");

const message = input.value;

addMessage(message);

input.value = "";

});

function addMessage(message) {

const div = document.createElement("div");

div.classList.add("chat-message");

div.innerHTML = message;

chatbox.appendChild(div);

}
This basic JavaScript will allow us to send messages from our HTML chat box!
See also: A Complete Guide To Synchronized Keyword In Java
Step 5: Add Styling to Individual Chat Messages
Let’s improve our chat message styling with some CSS:
.chat-message{

float: left;

clear: both;

}

.chat-message.current-user{

float: right! Important;

background: green;

color: white;

}
We can now target a “current-user” message to float it to the right.
And that’s it; we created an html chat box widget from scratch using only HTML, CSS, and JavaScript. We used plain CSS for our chat box design, which turned out well.
These instructions offer an excellent foundation to design your unique chat box without utilizing a third-party embed code. But there are undoubtedly many ways we could enhance and tweak this straightforward chat box.
Frequently Asked Questions
What advantages come with creating my own HTML chat box?
The ability to customize and exercise control are the key advantages of creating your HTML chat box. You can match your brand and website by customizing every element of the chat box by writing the code yourself.
How challenging is it to create an HTML chat box?
If you know the basics of HTML, CSS, and JavaScript, building an HTML chat box is relatively simple. There are few tasks to complete, and not much code is needed.
Conclusion
Building your chat box widget from scratch is an achievable task for any web developer. Creating your custom chat box has several advantages, including total design control, independence from third parties, complete feature flexibility, and the capacity to interface the chat box with your current systems.
So go ahead and experiment with creating your chat box. You can do this.