Reading this comprehensive beginner’s tutorial, you may learn how to install Conda on Ubuntu. The package management system Conda is popular among developers, engineers, and data scientists.
Table of Contents
Conda On Ubuntu
Conda is a powerful package management system allowing users to easily manage dependencies and create isolated project environments. It is open-source software developed by Anaconda, Inc. that is used a lot by developers, engineers, and data scientists.
If you are new to Ubuntu or just starting with Conda, this comprehensive guide is for you.

This article will discuss installing Conda on Ubuntu and provide a step-by-step guide on creating Conda environments and lodging packages. Regardless of your level of experience, Linux user, this guide will help you start with Conda on Ubuntu. Let’s get started!
Before we get started, there are a few prerequisites that you need to have to install Conda on Ubuntu:
- An Ubuntu machine with administrative privileges.
- A working internet connection.
Step 1: Download the Conda installer
The first step is downloading the Conda installer for Linux from the official Anaconda website. To do this, open a web browser and navigate to the following URL:

Once on the page, click the “Download” button next to the “Linux” option. The most recent Conda installer for the Linux version will begin to download.
Step 2: Install Conda
Open a terminal session on your Ubuntu computer and go to the directory where the downloaded Conda installer resides once the download is finished. To install Conda, run the following command:
bash Anaconda3-2022.02-Linux-x86_64.sh
Note that the filename may differ depending on the Conda version you downloaded. The above command assumes that the filename is
“Anaconda3-2022.02-Linux-x86_64.sh”.
It will start the installation process for Conda. To finish the installation, adhere to the on-screen directions. You can either install Conda for all users or just for your account.
See Also: Types Of Operators In Python: Explained
Step 3: Test The Installation
Once the installation is complete, you can test it by opening a new terminal window and running the following command:
conda –version

It should display the version number of the Conda that you just installed. If you see an error message, try closing and reopening the terminal window and rerunning the command.
Step 4: Create A Conda Environment
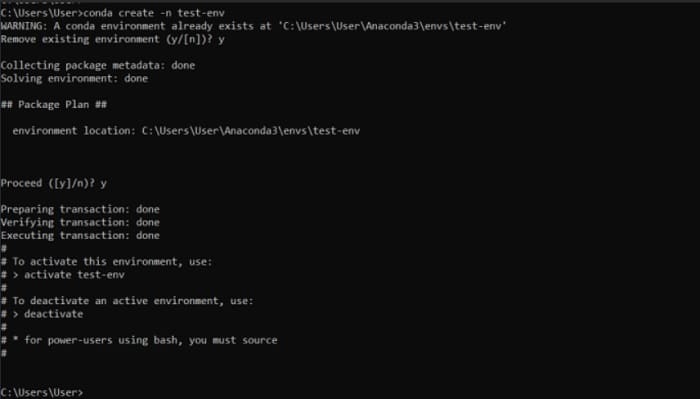
You should use the following command to start a new Conda environment:
myenv Conda create.
It will produce a brand new environment called “myenv.”
It will create a new environment called “myenv.” You can replace “myenv” with any name that you prefer.
Step 5: Activate The Conda Environment
You can use the following command to activate a Conda environment once it has been created:
Enable myenv in conda
Will activate environment named “myenv.” The environment’s name should appear in parentheses at the start of your command prompt.
Step 6: Install Packages
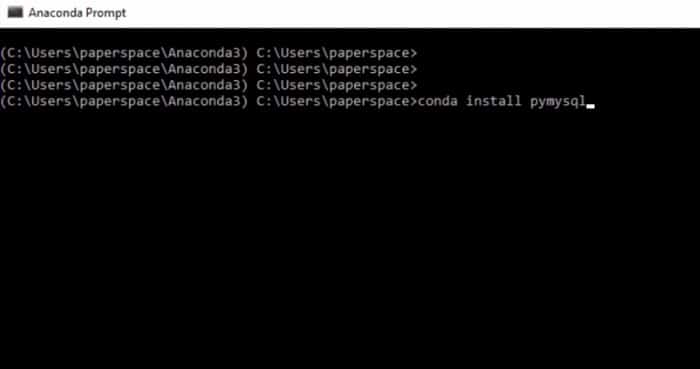
Once you have activated a Conda environment, you can install packages using the “Conda install” command. For example, to establish the NumPy package, run the following command:
Conda install numpy
It will set up NumPy’s most recent version in your Conda environment.

See Also: How To Use List Slicing In Python? Easy Guide
Step 7: Deactivate The Conda Environment
When you are done working in a Conda environment, you can disable it by using the code below:
conda deactivate
It will deactivate the active environment and return you to the base environment.
See also: How To Download JRE For Windows?
FAQS
How to set up conda on Ubuntu?
To set up conda on Ubuntu, you can download the Anaconda installer for Linux from its official website. Start by running the bash script, follow the prompts, and choose the installation directory guidelines. After installation, you can activate the conda and start with your Python environments.
How to install conda in Ubuntu 16?
Installing conda on Ubuntu 16 is quite similar to newer versions. Download the Anaconda installer for Linux, execute the bash script, and proceed with your installation. After that, you can use conda to create and manage Python environments on your Ubuntu 16 system.
How do I start Anaconda on Ubuntu?
You can start Anaconda on Ubuntu by following a few easy steps. First, open up a terminal. In that terminal type ‘anaconda-navigator’ or ‘anaconda-navigator &’ . This will launch the Navigator GUI. Further, use ‘conda activate’ to activate the base environment and ‘anaconda-navigator’ to run the Navigator.
How to install Anaconda for all users on Ubuntu?
To install Anaconda for all users on Ubuntu, download the Anaconda installer and run it as an administrator. During installation, choose a system-wide installation directory accessible to all users. Then, follow the prompts, and Anaconda will be available to all users on the Ubuntu system.
Conclusion:
In conclusion, Conda is a powerful package management system widely used by data scientists, machine learning engineers, and developers. It allows users to manage dependencies and create isolated project environments easily.
This article provides a step-by-step guide on installing Conda on Ubuntu, creating Conda environments, and lodging packages. Following this guide, you can start with Conda on Ubuntu and take advantage of its powerful features. We hope that this guide was helpful to you and that you are now ready to begin using Conda on Ubuntu.
See Also: 5 Types Of Web Development Trends To Focus On In 2024
Hi, I’m Geoff. I design. I develop. I do lots of things in between. What that really boils down to is that I make websites.